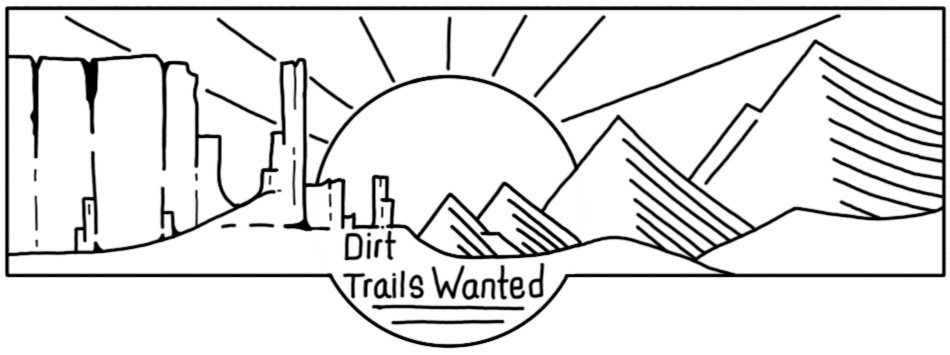
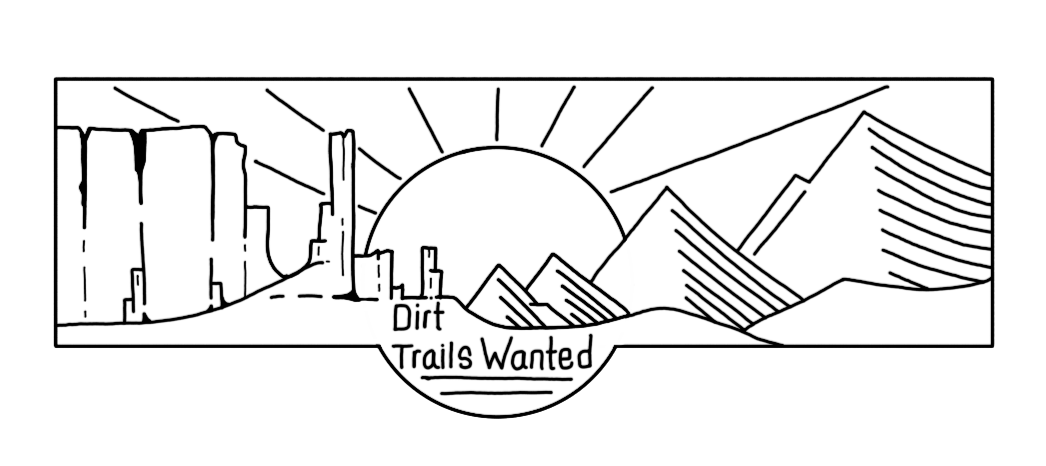
Our 7 Favorite GFC Upgrades Under $35
I think it’s already been well established that Go Fast Campers makes one of the best and most versatile campers on the market! So, this little post won’t be one about how rad they are, or saying if you don’t already have one, get one! Instead, this is about how to make a great thing even BETTER so we’ve picked 7 seven of our favorite GFC modifications under $35 to share with you here!
This was one of the first changes that we made to the camper. Originally the camper came with metal zipper pull tabs, which are great. However, they have a down side. If the wind is blowing the metal zipper pulls make an awful lot of noise jingling around. Additionally they are rather bulky and can get in the way when closing the camper. Switching over to the nylon ones was super easy and fast, and something we think all GFC users would benefit from. In addition to the camper we even added these to our awning. So far with over 100 nights in the camper, and 12,000 new miles on the odometer, they have held up great! That will be a continuing theme within this, all of these products have survived a trip to the arctic and back!
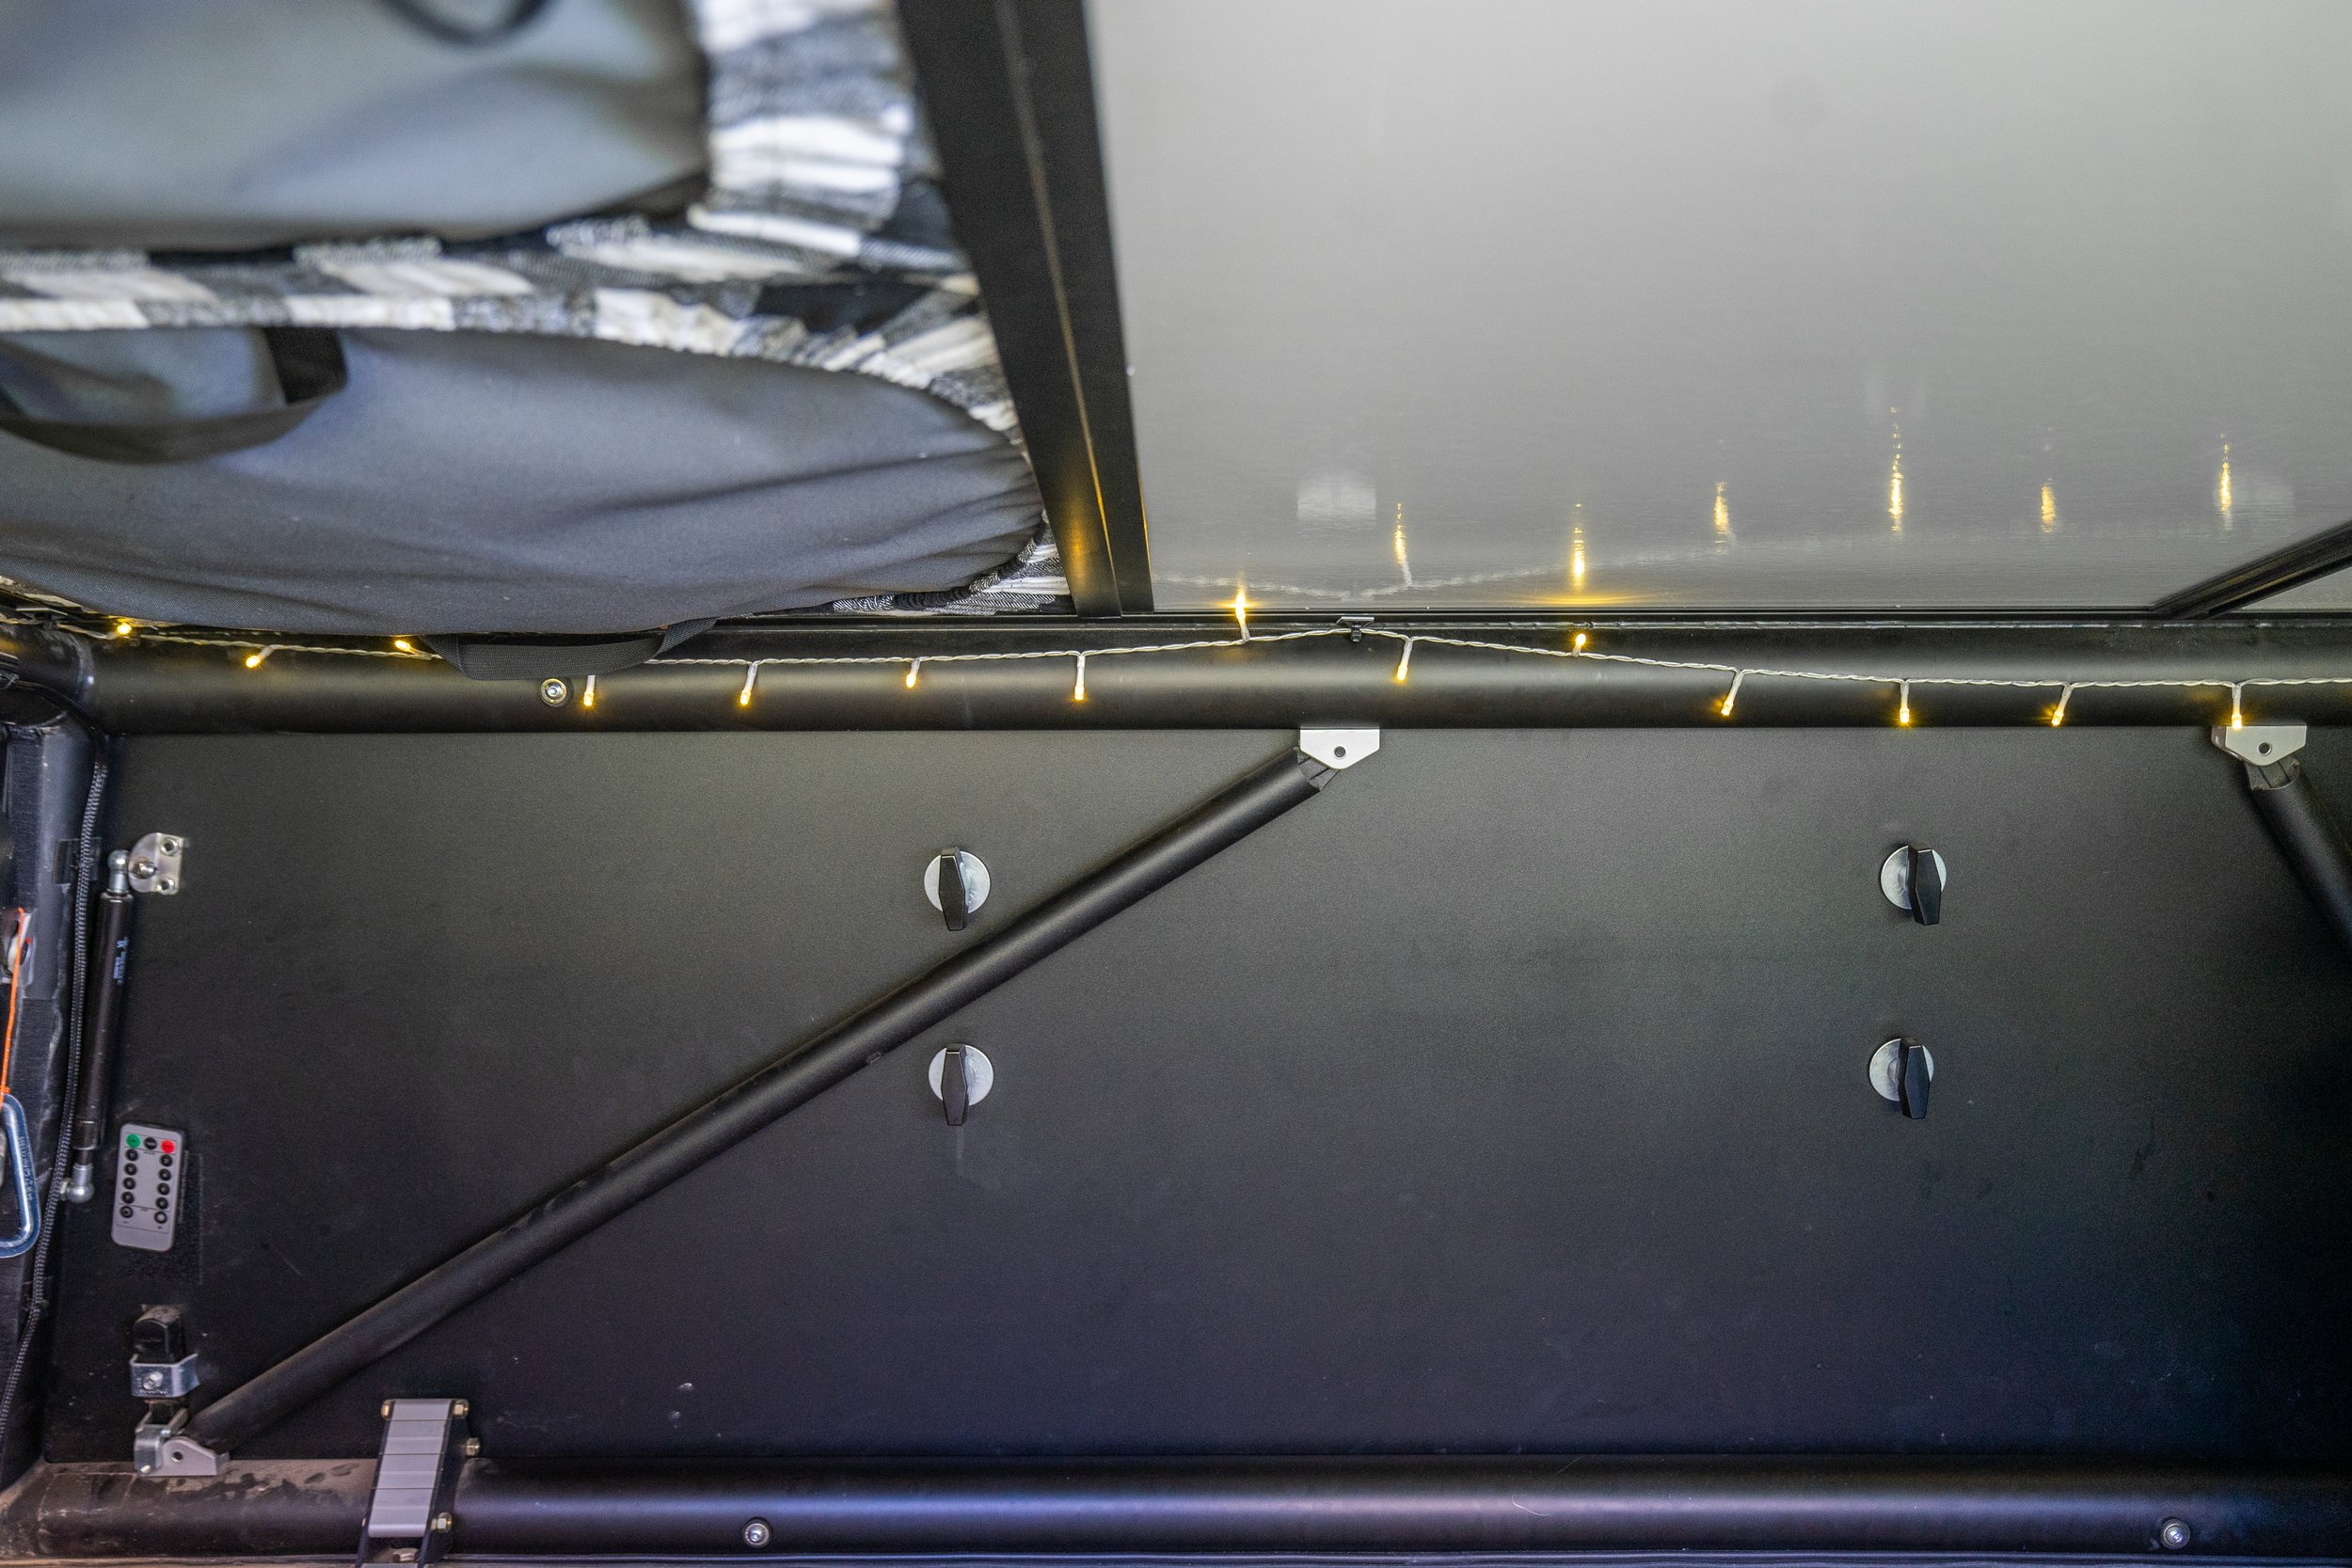
This was a fantastic addition to the camper! We lined the outer perimeter of the ceiling of the pop top with this velcro for our lighting “upstairs” and added a few strips across the ceiling to adhere small storage pouches (mentioned below). We’ve also used these velcro strips to add to our ever-growing patch collection on the headliner of the cab. Yeah, we are one of those ‘overlanders’ now I suppose ;).
We opted for a super simple lighting solution. These are great for providing gentle but adequate lighting within the “upstairs” sleeping area of our camper as well as the “downstairs” area in the bed of the truck. They even have a small remote that works to change the light level as well as a few different patterns of twinkles. We also use a set of these lights with our awning when that is out to provide enough light to see around the camper at night. These are desirable for us because they are a non-permanent option for lighting. What we like about that is if these were to fail, they are simple, easy to remove, and inexpensive to replace (over a year of use without issue so far). The only down side of these is that they run off of 3 AA batteries, but carrying a few extra batteries takes up next to no space in our setup. The string lights that are “downstairs” are held in place with Zip Tie Anchors along the perimeter, and in the “upstairs” sleeping area they are held in place by the velcro mentioned above that lines the perimeter of the pop top ceiling. The battery packs and remotes are also held in place using the same velcro.
We discovered this little gem while camping one evening with our friends Bound For Nowhere who recommended this to us. Thanks ya’ll! This little but mighty light is great for providing additional light at camp when needed and also has a small bug zapper built into it to help kill any pesky little buggers that sneak their way in just before bed. We don’t use this light too frequently but the nights that we find ourselves cooking dinner after dark, it provides more than enough light and definitely beats cooking with a head lamp.
Bonus benefit: it doubles as a super fun toy to make some wild long exposure shots with!
This is a fantastic addition to the camper to help give it that next level finishing touch. When closing any of the opened side panels on the topper, this gives a nice little feel to the otherwise naked metal edge. It also has the additional benefit of removing any potential chance of cutting yourself on the forehead if you should bump into one of the opened panels.
6) Universal Car Pouch Mesh Ceiling Netting
We added these to help us with storing the small things that we frequently go to bed with such as our headlamps, car keys, beanies, and some other small items. Additionally while we were in grizzly country this past summer, we would often go to bed with bear spray tucked into one of the pockets just in case!
Last but certainly not least, this is probably our most heavily used addition to the camper! We use this every time we setup or take down the camper to stand up or balance on the tailgate or bumper. Even though our truck isn’t lifted very high its lifted just enough that having the additional handle to grab onto has been a game changer! To mount this we used GFC T-nuts and some longer stainless bolts from the hardware store with some washer to help get the spacing correct.